Hi everyone!
Wow, it's been a while. I've been pretty busy with several things all at once - some paper related, some not. I'll be posting as much as I can over the next few days to get you all caught up.
I'm going to begin with the project I finished most recently. Michaels offers a class called Paper Crafted Gift Frame. This class was first constructed for Christmas. Sporting the word "JOY", the background papers were the traditional Christmas colors of red, green, and white. Obviously, I didn't want to put something related to Christmas out on the store floor at this time of the year. I'm also kind of beyond spring right now - I'm kind of done with the flowers, chicks, and lace. So, I opted for a summer theme. Those of you who know me will smile because I've gone with a beach theme - and I love the beach.
Unfortunately, because this is a class that Michaels offers, I'm bound by their public relations policies, so I can't show you this piece in its entirety. If you live near me, it's on display at the store and you can check it out back in the frames department.

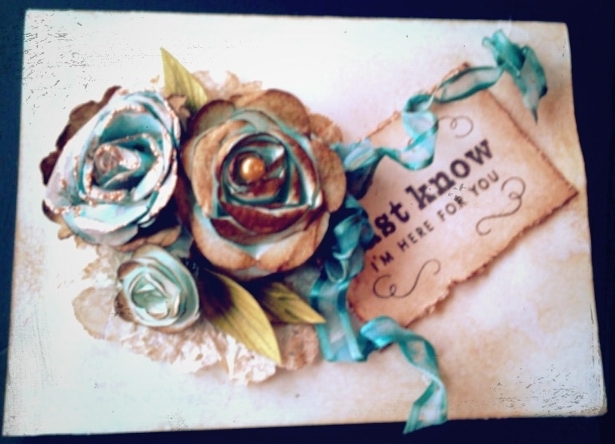
- The flowers, some trim, and tag are handmade using paper from the "Four Seasons" pad by Die Cuts With a View. I LOVE this pad and plan to use every bit of it - not something that happens with every pad of paper I buy, trust me.
- The solid colors of paper are French Vanilla, Avalanche, and Turquoise Mist by Bazzill.
- I sketched in the seagrass using three different shades of yellow green markers by Copic. I borrowed one of them from the store, so I can't give you the number for that one, but the other two are YG93 and YG95.
- The tag is hand lettered using a brown Zig marker.
- The punch is Martha Stewart's Punch Around the Page in Deco Fan.
- The large letters were cut on the Cricut Expressions machine using the Jubilee Celebration cartridge. I think this was a promotional cartridge that was given away last fall with the purchase of two other cartridges. I couldn't find it on the Cricut site, so if you find it somewhere, please correct me. :)
- The frame is a 14" x 8" (I think) float frame from Michaels. It comes in black, but I painted it because - ya know - it needed to be kind of beachy. :)
- Paints on the frame are by Martha Stewart. They're Beach Glass and Porcelain Doll in the satin base. It took several coats of the Beach Glass paint to cover the black, but I love how the frame turned out. I brushed the Porcelain Doll paint on as a very, very light topcoat.

Sorry for the size and fuzziness of this one, but I cropped it so as not to show too much. The seashells came from the DCWV pad that I listed above. I just cut them out and adhered them to a trim strip made of papers and punches that I also listed above.
The word down the middle of the project is "breathe". I always seem to relax and breathe at the beach - something about that great, uninterrupted expanse of beach and water....
Remember to breathe....
Kathy